Friday, December 8, 2017

Embroidered and beaded version B

Although it took me a while to blog about it, I did get right on to stitching up version B of Marcy Tilton's Vogue 8497.  The shady chartreuse cotton interlock that I picked out of my stash almost matches the garment on the pattern photo.  I hope I'm going to like it as well as I do version A.  There's not too much to add to the info in my last post on that short sleeve top with its zig-zag front and back seams.


Once again, instead of overlapping the curved front and back seams, I turned under the seam allowances on the top pieces and stitched them close to the edge and then again a bit over 3/8 inch away. These seams I embellished with a Double Cretan stitch, using two colors of embroidery floss and accenting that with seed beads in a green-turquoise range. The neckline is also simply bound, as I did on the red version, then embroidered and beaded exactly like the front and back seams.


I hemmed the sleeves and the bottom with a double needle.  On the sleeve hems I worked the straight version of the Zigzag Chain Stitch that I used on the neckline of the red top.  I used two strands of embroidery floss in the two different colors of the other embroidery and put a seed bead in each stitch. 

I used the size 12, but did stitch the side seams with a ½ inch seam allowance, rather than 5/8 inch.  One thing to note in construction is to make sure the front and back seams meet precisely at the shoulders, and that the uneven hems meet at the correct place.  There must have been a small amount of stretching or distortion when I cut out the garment, and if I hadn't been careful about matching these up, they would have been off just enough to cause a problem.  Also I used a narrow fusible bias stay tape on the neckline edge which had stretched while I was doing the embroidery and beading. 


I found that the embroidery and beading went fairly fast, as I sat at my sewing table listening to The Color of Lightning by Paulette Jiles.  (IMO, audio books are one of the best things that ever happened where sewing is concerned.)  Now I've started on something more pedestrian, some olive-y denim pants that I know will be a welcome addition to my wardrobe.  But not as rewarding as making this fun top.

Saturday, September 2, 2017

Marcy Tilton meets Alabama Chanin

Yet another pattern that finally got its turn after ripening in my collection for several years. I was a little leery of the unfitted fit and the cut-on sleeves which I have found do my figure no favors. I doubted it would actually resemble the pattern photo on me. But it was calling out to me, and I had just enough left of some ancient red interlock to give it a try. With some modifications, of course.

I cut version A in a size 12 with no changes. The modifications involved assembly, because I am just not a raw-edge sort of person. Instead of simply overlapping the zigzag front and back pieces, I turned under the seam allowances on the top pieces, top stitching them very close to the edge and then again a bit over 3/8 inch away. Similarly, I did a conventional bound neckline, turned to the inside and stitched down. The bottom hem and sleeve hems were stitched with a twin needle.

But what to do to emphasize those zigzag front and back seams which are what the top is all about? Not knowing if I was going to actually like the fit of top, I hadn't really thought much about the decoration. After putting it together enough to try it on, I decided it would do, but it definitely needed something...more. And that was where Alabama Chanin came in.


I first discovered the hand-sewn and hand-embellished knit creations of Natalie Chanin's company, Alabama Chanin, a couple of years ago and immediately purchased the Alabama Studio Sewing + Design book, a complete how-to manual of their processes and designs. I doubt that I would ever want to exactly duplicate anything in the book, but it provides a bounty of inspiration and ideas that could be borrowed and adapted to one's own garments. 

I used the very easy-to-do Cretan Stitch with two strands of embroidery floss on the front and back zigzag seams. On the neckband, I did the simple, straight version of the Zigzag Chain Stitch. 


Both created spaces to stitch on single red seed beads that I bought in a big packet at JoAnn Fabrics. Because the embellishment is red-on-red, the effect is very subtle, even with the slight iridescence of the beads. So subtle that only one person seems to have noticed and commented on it. But I love it!
  
It's the perfect easy-breezy top for hot summer days, loose enough to be cool and comfortable, and yet not too over-sized or overwhelming on my small frame. If I didn't have a line-up of other patterns clamoring for their turn, I'd sit right down and stitch up another. I'm definitely going to be making version B in the near future, so stay tuned.

Friday, August 11, 2017

Drawing Nature

For the past six weeks I've mostly put aside Photoshop to try my hand (literally) at making art in a non-digital way: with paper and pencils. I was lured by the exquisite drawings of plants and animals in the promo video for the edX course, Natural History Illustration, from the University of Newcastle in Australia. The two lecturers would “demonstrate in a simple step-by-step manner how to record the beauty of the natural world in a realistic way.” The next thing I knew I was clicking the Enroll button. 
  
Since the course was touted as being suitable for beginners, it started simply with an exploration of drawing materials, the types of lines they would make and ways of shading with them. But it moved on very quickly after that, requiring an observational drawing of three natural objects. Oh, was that ever hard to do! The information on the course said it would require 3 to 6 hours per week. I'm fairly sure my time on this drawing exceeded those 6 hours. 


I had taken a lot of art classes in college, decades (yes, decades) ago but never continued drawing after that, so I was amazed that I was able to do this well. It required a tremendous amount of concentration, and the process hovered between pain and pleasure. After it was finished, I had to open up my drawing pad and admire my achievement every time I went by.

The next drawing was for the lesson on the structure of flowers. About the only thing I have blooming at the moment are bright pink tall garden phlox, so I sat for several more hours squinting and holding a magnifying glass up to a stem of those while trying to get shapes and proportions right. I probably used my erasers as much as my pencils. 


Next up was animals, and since I have an abundance of cats, I drew two of those. Hmm, I'm afraid the proportions are a little off on both of them.


And finally, the FINAL assignment, a fully-rendered drawing of a plant or animal. What to choose? 

Something not too difficult... How about the big American White Pelicans that winter at White Rock Lake not far from us? No complicated coloring or patterning on their feathers; they're just white with black wing tips showing when they're in flight. So I found this great photo on the White Rock Lake Wildlife Flickr group...and a couple of days later wondered how I could have ever imagined that drawing this bird would be easy. I started on Friday, started over on a larger version on Saturday, worked on it more on Sunday, worked on it lots more on Monday, and then spent basically all of Tuesday slowly, slowly filling in feathers inch by painstaking inch. 

 
 I'm still intending to put some indication of water in the drawing, but all I needed was the bird itself for the assignment, which I duly submitted on time, took the final exam and finished the course. YEAH!

The course was basically an introduction to and a sampler of various types and techniques of natural history illustration, obviously fairly cursory in a six week span. I personally would have preferred a slower pace, as there were suggested tasks that I simply did not have time to do. It was presented via both videos and written material, with links to additional resources, such as You Tube drawing videos which I utilized extensively. I don't think you could learn to draw as a complete beginner by taking this course, but there were students who were attempting to do so, and well as already-accomplished artists. It was especially interesting to see all the different responses to each assignment: the different skill levels, the different styles and the different plants and animals drawn by students all around the world.
 
So despite the amount of time it consumed, I'm glad I took this course, not the least because it got me drawing again.  And I vow to continue.  But at the moment Photoshop is feeling neglected, as is my dear old sewing machine. 

Monday, July 31, 2017

Sunburst dart neckline

I have long been intending to try this technique from an article by Marcy Tilton in the October/
November 2006 issue of Vogue Patterns magazine. It's quite easy to do: the side dart on the bodice is eliminated by closing it up and transferring it to the neckline, as you can see from the illustrations I've copied from the article. Measure that resulting space and divide it as you wish into a series of darts of whatever length you want. I used the same pattern as Marcy, Today's Fit by Sandra Betzina Vogue 8151 and made eleven darts total, ½ inch wide at the neckline and varying from 4 inches to 7 inches long. (This great basic pattern is out of print but, of course, you can still find it on online.)


In the example in the magazine, the darts are stitched on the outside, making them more prominent. I stitched mine on the inside, like a traditional dart, so they aren't so obvious. The next time, I will probably do them on the outside, since they are supposed to be a decorative feature. If anyone would like the complete article with detailed instructions, just email me and I will be happy to copy it and send it to you.

Wednesday, May 31, 2017

Illustration Friday - Mind


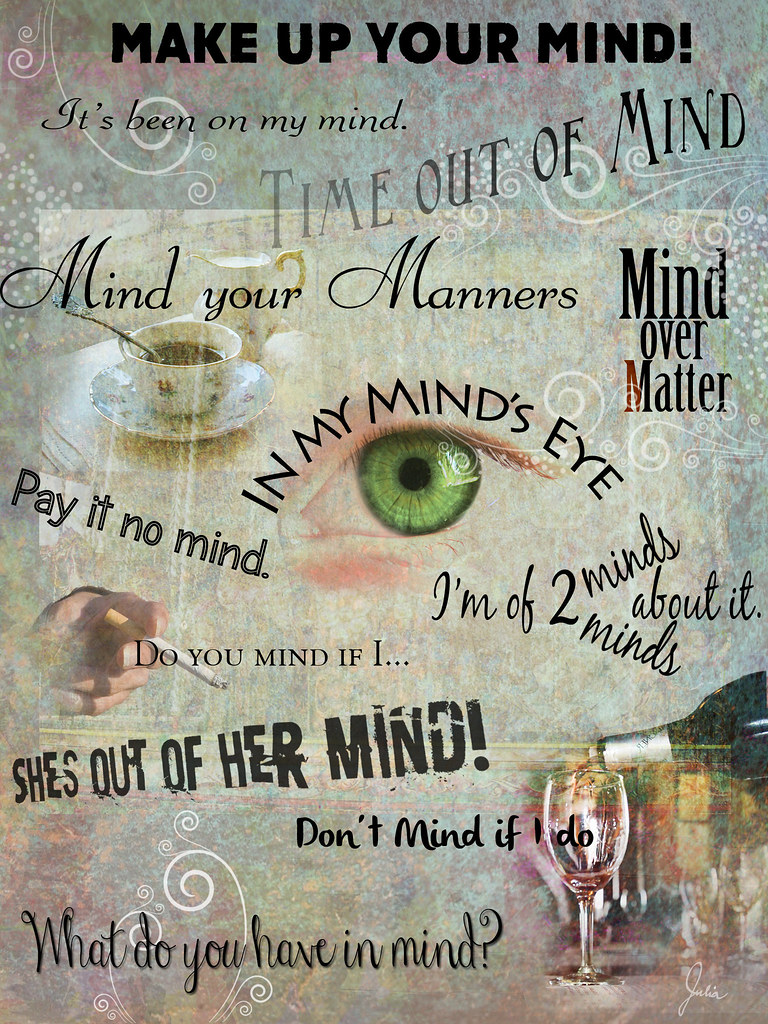
At first I had a difficult time putting my mind to this topic, but it was the last Illustration Friday of May, and my goal is to do one per month. Of course, as I probably have mentioned before, there are no IF police minding how well the submissions correlate to the topic, but trying to actually illustrate the topic is part of the challenge to me. In the course of seeking inspiration, these various idioms and expressions crossed my mind, and I thought I'd just have fun with them. The photos are from Morguefile; the textures from a Creative Commons search on Flickr.


Sunday, April 30, 2017

Parisian jacket preview

Parisian, because I bought the fabric in Paris, as I mentioned in my blog post last month. And the jacket style is à la Chanel, via Claire Shaeffer's Vogue 8991. I've already made up the muslin, and I love the way it looks and fits. The only alterations I had to make were to narrow the shoulders and shorten the sleeves, both of which I always have to do on any jacket pattern, plus also let out slightly below the waist.  As you can see on the muslin, I made up one sleeve without alternation and then shortened it, and then altered the pattern to make the second sleeve, so I could be sure it fit correctly.


I'm using The Couture Cardigan Jacket by Claire Shaeffer as my guidebook, and I intend to go the complete slow-sewing route, so with all the handwork my estimated time of completion is... Well, I have no idea, but I'm eager to proceed. The how-to's and photos in the book are excellent as is the accompanying CD. I don't see anything that should present any difficulty to an experienced sewer, and actually I think someone with moderate sewing skills could tackle this with the aid of this book. (Interestingly, there's a sewing studio here in Dallas offering a four-session class in making a Chanel-style jacket for $275, not including supplies, of course.)

My jacket-to-be is quite the bargain, with the fabric costing only 15.80 euros. Then I was lucky to find silk charmeuse lining in just the right color from Dharma TradingCompany which offers a limited selection of colored silk fabrics. (I cannot say enough good things about Dharma which sells dyes and ready-to-dye fabrics among other similar products; as for example, the swatch only cost 25¢!). I also purchased silk organza for interfacing from Dharma.


After searching and searching the multitude of button boxes lining the shelves at Benno's Buttons, my friend Linda spied these. Not a bargain, but perfect, I think. 

I intend to make a simple trim, using this variegated viscose/cotton yarn. 

And per Claire Shaeffer's recommendation, I purchased cotton thread and silk buttonhole twist from Superior Threads.

So, everything is ready and waiting...  Stay tuned.  


Thursday, March 30, 2017

Illustration Friday - Umbrella


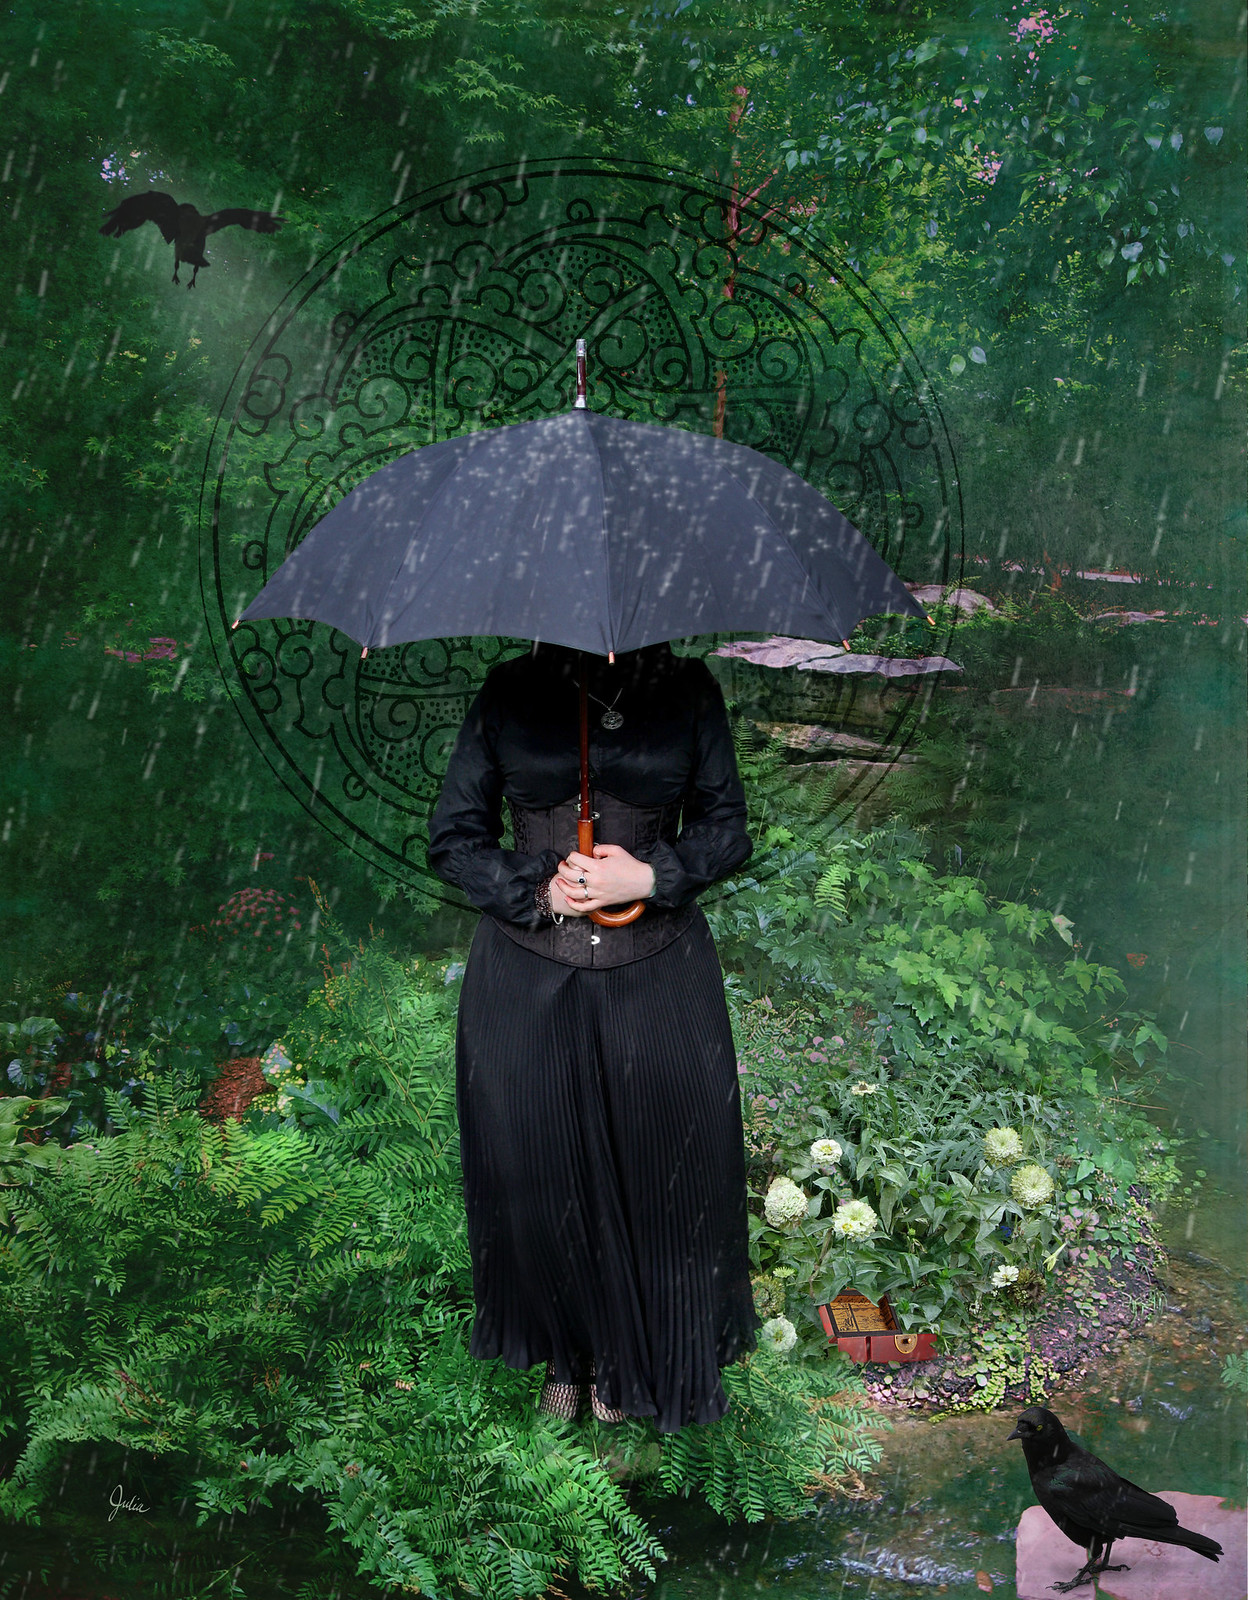
Definitely a more-is-more composition, but each empty space seemed to call out for another element.  I began with the beautiful central figure by Aeria-Model on DeviantArt and used one of my own photos as the setting.  The crow on the rock in the right hand corner is from Morguefile, as is the flying crow in the upper left hand side. The open box under the flower is from stockvault. There are also two different textures, one from Flypaper Textures Taster Pack and one from flickr which I can't attribute.  The decorative circle is from Dover Photoshop Brushes & Creative Tools: Calligraphic & Abstract Designs.  And, of course, what's the point of an umbrella without rain?  Created here with rain brushes from DeviantArt.  With the exception of the Dover book, all of these resources were free, so thank you to the individuals who generously offer their work for the use of others.
Photoshop Brushes & Creative Tools: Calligraphic and Abstract Designs - See more at: http://store.doverpublications.com/0486991016.html#sthash.LvXFneUV.dpuf

Sunday, March 12, 2017

Fabric shopping in Paris

OMG! I was absolutely giddy. Mr. C and I had just descended on the funicular from the Sacré-CÅ“ur Basilica in Montmartre, and there were fabric shops everywhere we looked! A panoply of fabric spilled from the storefronts onto the sidewalks, creating an almost carnival atmosphere while a diverse cast of shoppers bustled along the streets. We were in an area offering what the writer in an article on the Threads website called the “milk” rather than the cream of Paris fabric shopping. I was hoping to get around to some of the “cream” stores, which I never did (next time!), but I couldn't have had more fun than I did that day as I poked and perused and considered the vast array of fabrics in store after store.

Tissus Reine, the store I had especially planned to visit, turned out to be one of the more sedate venues, as befits its name (Fabrics Queen). It offered a good selection of good quality fabrics on four floors, with suggested garments on mini mannequins.


In a small space organized by fabric type, Les Coupons de Saint Pierre sells three-meter cuts of fabric. Coupon, in addition to the meaning we attach to it in English,  also means “remnant” in French, logically from the verb, couper, to cut, thus something “cut off,” a remnant . I bought some lovely rose-colored abstract printed silk; not sure what I'll do with it but the price was right at 25 euros. (And the young man in there was so very pleasant and helpful.)


My other purchase came from the Marché Saint Pierre, loaded with a huge variety of fabrics at bargain prices, a treasure-hunt sort of place. It was so hard to limit myself, knowing I would have to pack whatever I bought into an already full suitcase. Finally I settled on a tweedy teal that you will hear more about in a future post, because it is destined to be my Couture Cardigan Jacket. (I've already purchased buttons, lining and trim, costing far more than the mere 15.80 euros I paid for the two meters of fabric.)

I had left Mr. C sitting at a sidewalk cafe, but he eventually strolled around snapping most of the pictures you see here. I think he enjoyed himself almost as much as I did.


Yes, that's me, snapped surreptitiously by Mr. C.

Monday, February 27, 2017

Illustration Friday - Spin

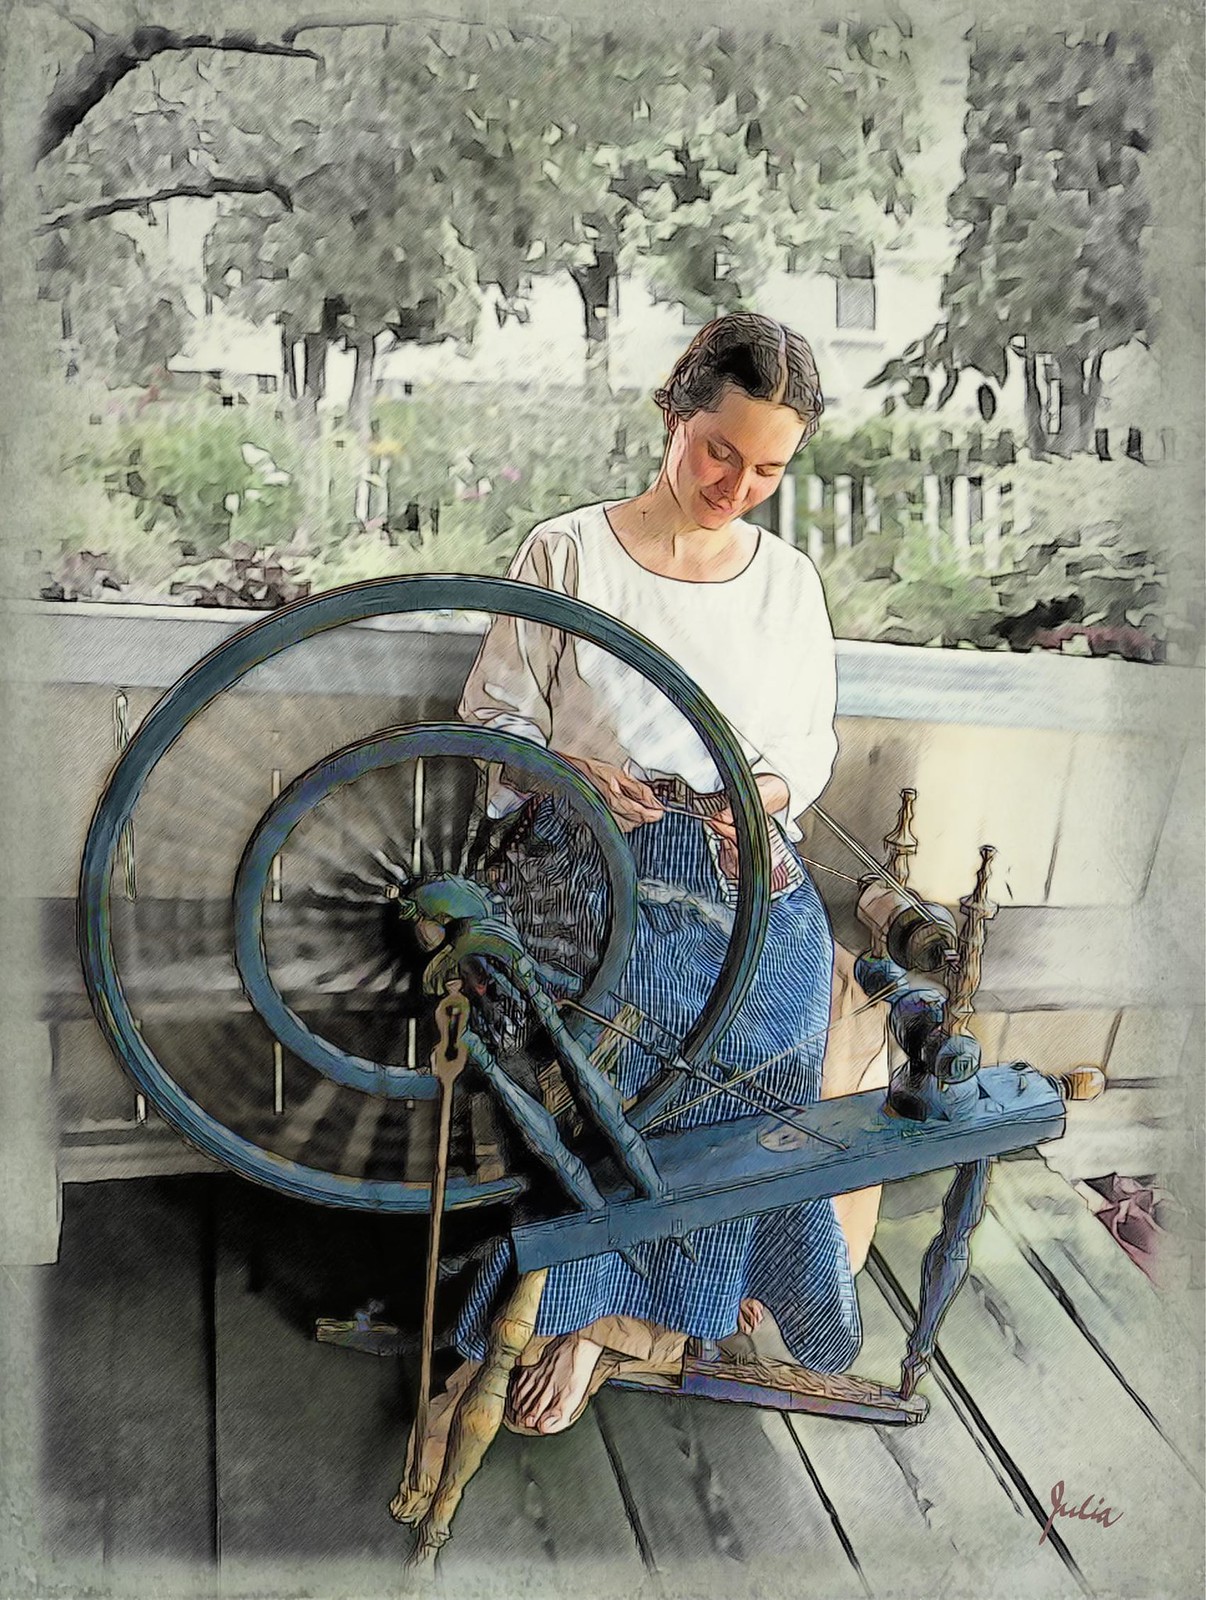
Not the current topic but one from last year that I never finished. Since none of February's topics inspired me, I decided to have another go at this one. I'm sure that the original image came from a Creative Commons search of Flickr, but, unfortunately, I can no longer attribute it. The spinner is wearing an ID tag at her waist (which I had to carefully remove), so I guess she is giving a demonstration at a heritage farm or the like. 


I was about to go on and on here, telling you in enthralling detail how I went from that image to this, which I thought was my final result. But, yes, I do realize that you may not be as enthralled by the intricacies of Photoshop as I am. (Mr. C is nodding his head vigorously in agreement with that!). So I'll just say that, after hitting Save one last time around midnight, I snuggled into bed well pleased with what I had wrought with layers and masks and blend modes and filters and.... 

Of course, it's always a good idea to sleep on it. In the morning I saw a more “illustrative” effect in my mind's eye, so I fired up Photoshop once again and some time later (much too much time later), I ended up with this. I probably could work on it more, trying out various other ideas and techniques, but now it really is time to call it completed and move on to my next adventure manipulating pixels for my own personal amusement and edification.

Spin

Tuesday, February 21, 2017

And so to bed...

One reason to  keep a pattern that didn't prove completely satisfactory is that it may have design details that will work on an altered version. So when I wanted a loose-fitting pajama top with raglan sleeves and tucks or pleats on the bodice front, this Vogue pattern came to mind.  

The problem with the top I had made from it in a fine jersey knit was that that lovely pleated neckline would never stay straight across like the illustration; the weight and drape of the jersey made it droop quite a bit, regardless of what I did to try to fix it.

 On my pajama top, I actually wanted a rounded neckline, and also a higher one for warmth. I raised the neckline by 1½ inches at the center back, seguing to 1 inch at the shoulder, and raised the top of the sleeves by 1 inch. On the front, while also raising the neckline by 1 inch, I narrowed it 1½ inches at the beginning at the side top, gently seguing back to the original seamline, I kept the same number of pleats, now spaced closer together. I also stitched the pleats down and bound the entire neckline.


I first made a muslin in some old interlock which turned out well, but still drooped slightly in the front, so on my final version, I made the pleats slightly wider, so that each fold abuts the next pleat on the inside. 


I tried double-needle tucks on the sleeve bottom on this version also. It's a nice little detail but if I were to do it again, I would make the tucks longer and closer together to snug the sleeve more to the wrist. I bound the bottom just like the neckline, except with a narrower binding. 

I'm very pleased with how this top turned out. It's very soft and warm since the inside of the knit is brushed like a sweatshirt knit.


The pattern for the pajama pants was traced from some Eddie Bauer pjs that I wore until threadbare. I didn't buy quite enough of the cotton flannel to allow for complete placement on the directional print, so by cutting apart the pattern back about 8 inches below the waist, I was able to make a perfect match with this separated piece.


Well, I'm tired after so much work, time to test out my new jammies. Nighty-night.